

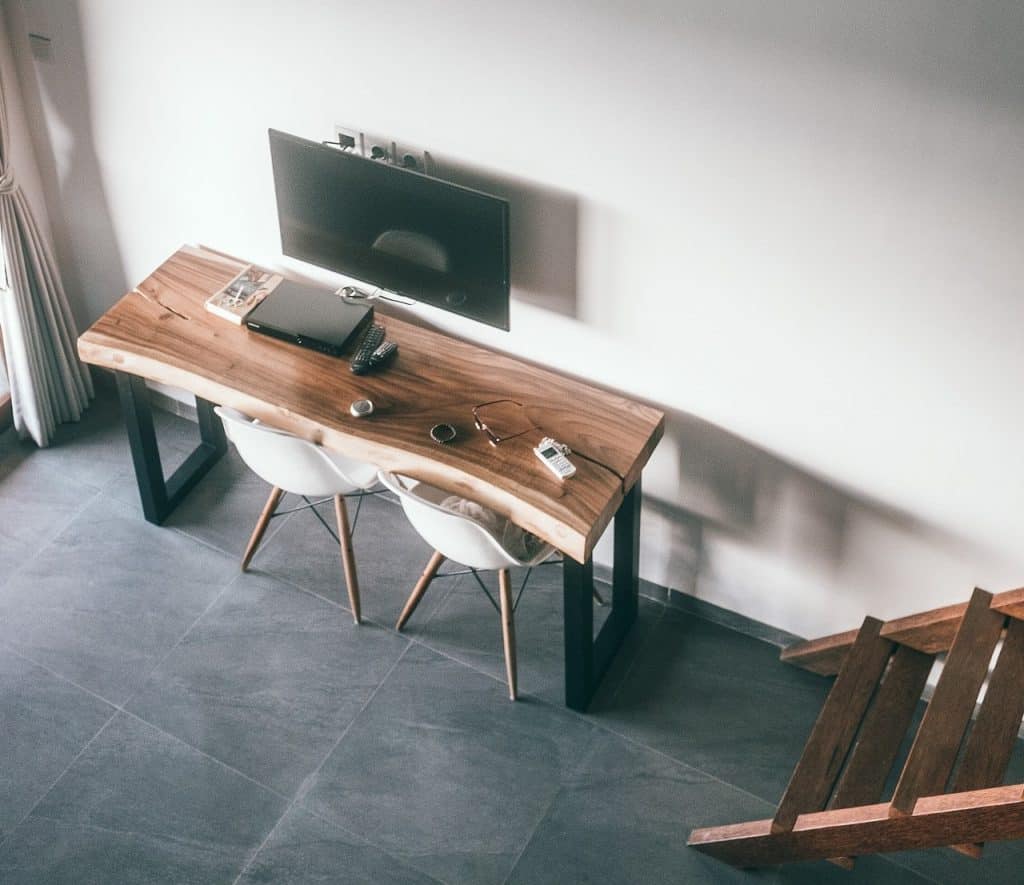
The Samsung Frame TV is an extremely unique television that you can get for your home to wow your guests.
It has a super-slim design that can be installed completely flush onto the wall.
When the TV is not in use, you can use it to display digital art with dull brightness and a lot less glare.
This makes it look like a genuine piece of art rather than a big, black, ugly rectangle on your wall.
Quick summary
In this post, we will discuss how you can successfully mount your Samsung Frame TV to your wall.
We’ll list all of the tools and supplies you will need. We will also go over some challenges and factors you must be aware of before you start with the installation.
So without further ado, let’s get started.
Tools and Supplies Needed Before Installation
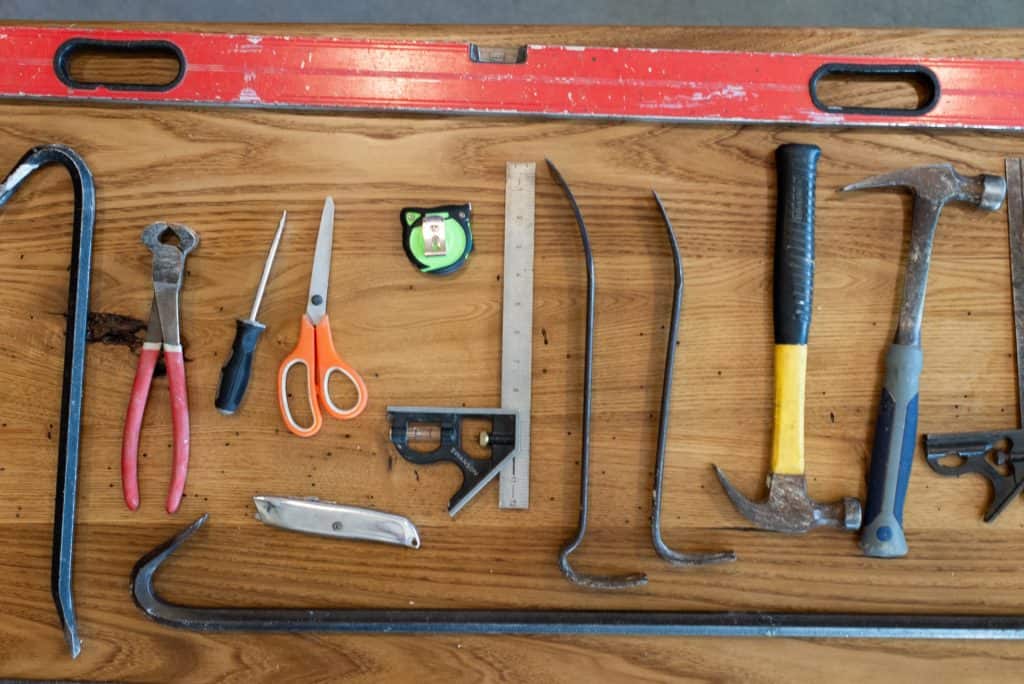
Before we get into the nitty-gritty of installation, it’s a good idea to buy and gather all of the tools and supplies you will need for it.
We don’t recommend that you go looking for each tool once the time to use it comes up. It’s much better to gather everything and then start the process.
It will save you a whole bunch of time and effort.
The great thing about the Samsung Frame TV is the fact that you get a whole bunch of necessary tools with the TV itself.
It’s one of the very few TVs that comes with its own wall mount. You also get the One-Connect Box that can be housed anywhere in your home.
The wall mount you get with the Samsung Frame TV is a no-gap wall mount. This means that when you properly fit it, it will sit flush to the wall; Giving your TV a neat and tidy look.
Not only that but it will also look much more like a picture frame when it’s not in use and just displaying art.
The exact model that we bought for this test was the SAMSUNG 55-Inch Class Frame Series (QN55LS03AAFXZA, 2021 Model).
You get all of the necessary assorted screws and bolts with the wall mount itself. However, during testing, we found out that these included screws are fairly difficult to work with.
Not only that but they also seemed quite finicky and weak. That’s why we decided to get separate toggle bolts for ourselves online.
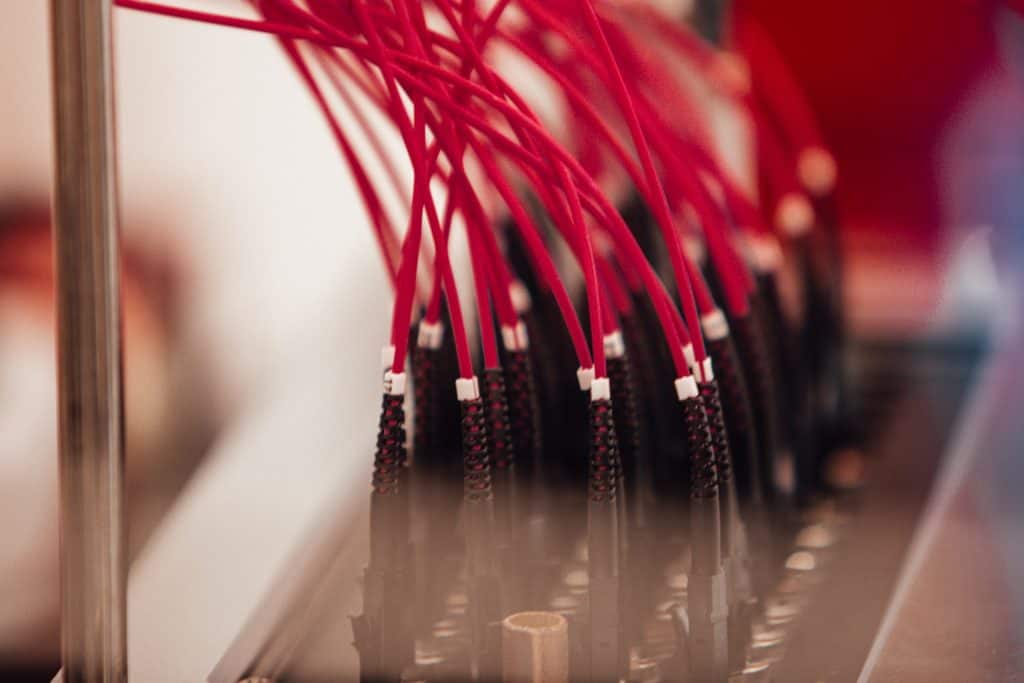
The second thing that perplexed us was the connection cable for the TV to the One Connect Box. This connection wire that comes with the TV is fiber optic. The problem with this is that it doesn’t technically meet fire safety standards if you want to put it in the wall.
Of course, you want to put it on the wall. The entire point of the Samsung Frame TV series is that the TV itself looks like a piece of art with no wires showing.
Hence, it’s a good idea to cover the wire with a conduit before you actually snake it through your walls. You can purchase conduits easily off of Amazon. It’s available in different sizes so make sure you get one that is appropriate for your wire and plug.
So, in conclusion:
Tools that Will be Used that Came with the TV
- The Samsung Frame TV
- The No-Gap Wall Mount
- The One Connect Box
- The instructional manual and its practical diagrams
Additional Tools Required
- High-quality toggle bolts or plastic wall anchors
- Conduit
- A wrench
- A screwdriver
- A hammer
- A Drywall saw
- A pencil or marker
- Fish tape
- An in-wall power extender
- A level
- Measuring tape
- A drill
Now that you have all of the necessary tools gathered, let’s get started with the installation process:
How to Wall Mount a Samsung Frame TV (Step-by-Step Guide)

You definitely have to put in a lot more effort if you want your Samsung Frame TV to truly look like a piece of art.
Here’s how you can do it:
Step 1: First, decide on a spot where you want to mount your TV.
Some factors you must take into account are whether or not you have a comfortable viewing space at that spot or not and whether it’s close to a power outlet or not.
It’s also a good idea to have the spot be away from a window or any other external light source. Glare can be very annoying.
Once you have decided on the most suitable spot, you can get started with taking measurements.
Step 2: The great thing about the Samsung Frame TV is that you get full-scale diagrams of the holes you need to make in your wall for installation.
The instruction manual is shipped with a “poster” or diagram that you can paste onto the spot where you intend to mount the TV.
You can then use it to drill the appropriate holes for the no-gap mount.
Before you actually paste the diagram on the wall, however, you must do two things:
- You must use a level to ensure that the diagram is pasted properly onto the wall
- You must use a stud finder to identify where the studs are. This is important because you don’t want to cut into a stud.
Once you’re sure of these two things, you can go ahead and use your drill to make holes for the toggle bolts or drywall anchors.
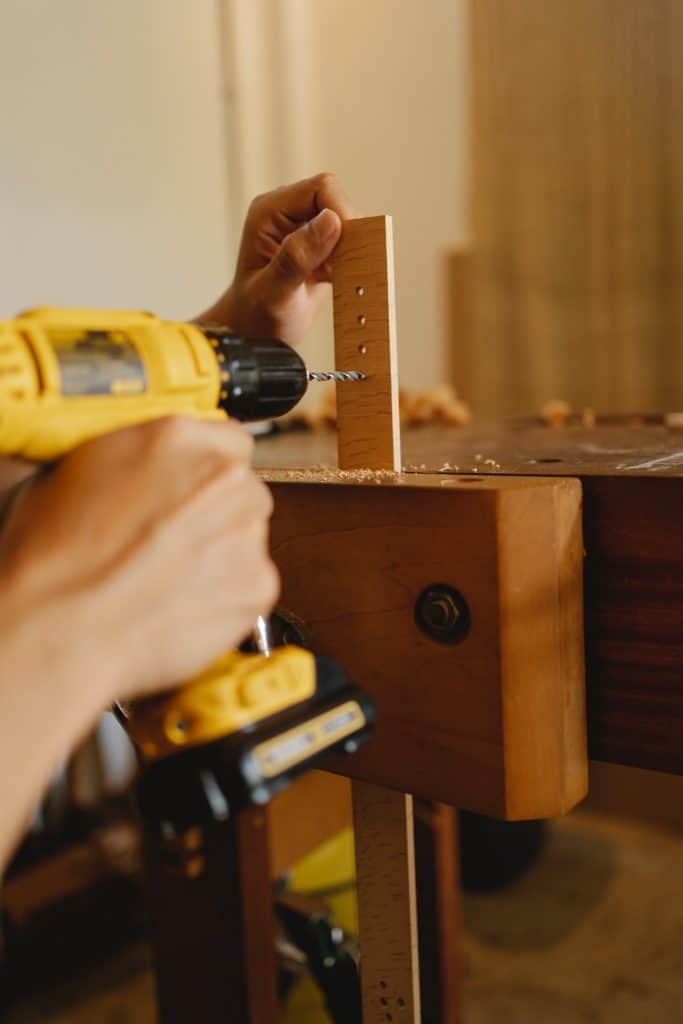
Step 3: Once you have made all the holes necessary for the wall mount kit, you must now appropriately cut holes in the wall for your power extender.
An in-wall power extender has 2 receptacles for which you will have to make two separate holes.
The upper receptacle should be located behind the TV while the lower receptacle needs to be somewhere below it and near a power outlet.
Identify the correct locations for these two receptacles and mark them using a pencil or marker.
Step 4: Cut the appropriate holes for the 2 receptacles of the power extender using a Drywall saw or something similar.
If you don’t have a Drywall saw, you can easily buy one from your local hardware store.
Step 5: Place the fiber optic connector wire in the conduit that you bought for it. Please don’t skip this step as it will be a fire hazard otherwise.
Once you have inserted it into the conduit, you can use the fish tape to snake it through your wall so that it sits comfortably behind your wall between the 2 receptacles.
Make sure to extend the wire out at least 3 feet from both holes.
You must also connect the power connector wire for the power extender. This wire will connect the lower receptacle to the upper one.
That way, the lower receptacle will be able to provide power to the upper receptacle and whatever it’s connected to.
Important note: At this point, along with the fiber optic wire, you should feed all other wires that you will use with your TV as well (apart from the power cord).
This would include wires such as HDMI cables, A/V cords, and any other wire you would need for any additional peripheral.
We reiterate: do not feed your power cord through the wall as that would be a fire safety hazard.
Step 6: Once the wires have been fed through the wall, you can go ahead and install the 2 receptacles onto their two holes.
Do this by looking for holes covered by rubber on the receptacle and feeding the wires through those holes.
Once they have been properly fed through, hold the receptacle up to the wall and use a drill and screws to screw it into place.
Repeat this process for the other receptacle as well.
Please note that the upper receptacle will be housed behind your TV whereas the lower receptacle will be located somewhere near where your One Connect Box will be.
Step 7: Installing the no-gap wall mount itself is actually not as difficult as it sounds.
In fact, the process is pretty much the same as with most other mounts.
Take your toggle bolts and have a partner hold the wall mount up as you begin to drill the bolts into place.
We recommend that you fasten each toggle bolt evenly so that no one bolt gets more tightened than any other bolt.
Once each toggle bolt gets fastened up to, say, 75%, it can be a good idea to throw a level on top of the mount to ensure it’s not being installed crooked.
Keep an eye on the level as you fasten each of the bolts completely to ensure nothing is crooked.

Step 8: Now that the mount has been installed, all that there’s really left to do is to get your Samsung Frame TV up there.
We highly recommend that you have a helper for this as you don’t want to hold the TV and screw bolts in alone.
Follow the instructions to use the appropriate mounting holes and screw your TV in place with a screwdriver.
Finally, plug in the fiber optic connector cable as well as any other wires you have fed through your wall into the TV.
Once everything has been plugged in, you can gently tilt the TV back until it’s at a flush position against the wall.
It can be a good idea at this point to place a level at the bottom to check whether or not it’s crooked.
Adjust the no-gap mount until the TV is completely level. The No-gap mount has some level of flexibility when it comes to leveling. Hence, don’t worry about that.
Step 9: Go to where the lower receptacle of the power extender is located and plug all of the wires sticking out of it into the appropriate peripherals.
The fiber optic cable sticking out from the lower receptacle should be connected to your One Connect Box.
Step 10 (optional): This is a step you’ll have to take if you bought a custom frame or bezel for your Samsung Frame TV.
There are many beautiful frames available by Samsung for the TV and you can even get them custom-made from certain vendors.
It’s very easy to install the frame onto the TV since they are magnetic.
All you have to do is bring each appropriate edge close to its corresponding side and it will just snap seamlessly into place.
Once these edges are installed, your TV will really start to look like an art piece.
Step 11 (optional): Last but not least, you may want to add certain art pieces and paintings to your TV to really make it your own.
It features an art mode that really separates it from any other television on the market.
When you don’t want to watch TV, your TV turns into an art piece as it displays digital art at duller brightness so that it looks just like a painting.
You can easily choose and purchase digital pieces of art from websites such as Etsy. Not only that but you also get 25 free artworks with the TV itself.
You can even upload images of your own for the TV to display for free.
If you’re still not satisfied, then you can opt for Samsung’s Frame Art subscription service. It costs $60 per year and provides you access to a huge library of digital paintings and artworks that you can display using your TV.
Wrapping Things Up…
The Samsung Frame TV is a unique product and that’s why its installation process is unique as well.
Even though the installation process takes more effort and time, we still feel it’s not the most difficult thing in the world. As long as you take your time and plan everything properly before execution, you will be fine.
If you have any questions regarding installation, please let us know in the comments below.
Adam F.
A/V and Home Theater Expert that focuses on providing clear as well as concise reviews for anything and everything Audio Visual. From TV's, TV Mounts, Soundbars, and Wiring, my focus is to provide expertise in everything Audio Visual focused.


")

