

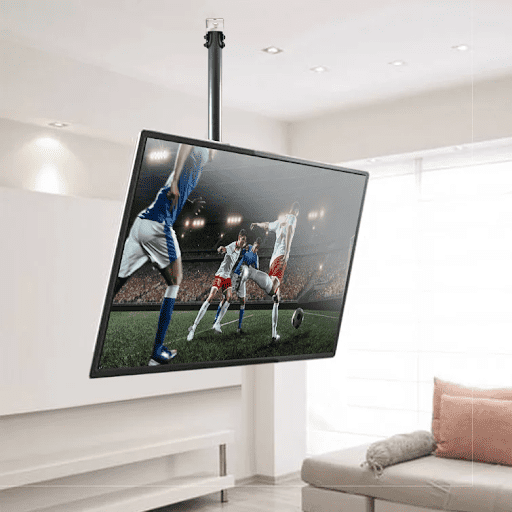
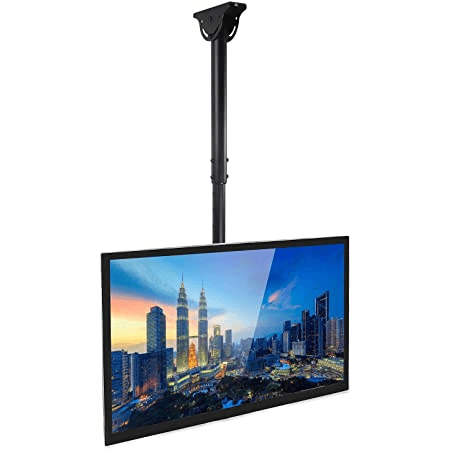
Ceiling mounts can be incredible if you want to save space on your walls or just have your TV in the middle of the room.
That being said, they can definitely be a lot trickier to install since the process isn’t as simple as installing a regular TV mount.
Quick summary
In this post, we will provide clear steps on how you can effectively install your ceiling mount. Not only that but we’ll also go over some do’s and don’ts that you definitely want to be aware of.
Without further ado, let’s get started.
How to Choose a Ceiling Mount?
Before we start to get into the nitty-gritty of installation, there are some things you need to know about ceiling mounts.
It’s important that you know what your needs are before you invest in a ceiling mount. They’re highly unique in their design and structure which is why they may not be the perfect fit for everyone.
You should invest in a ceiling mount if you want to save space on your walls for other things such as bookshelves, paintings, pictures, etc.
Bear in mind that a ceiling mount will take up a fair amount of space in your room since your TV will be suspended in mid-air in the middle of it.
Thus, if you have a cramped, small room, then a ceiling mount isn’t really a practical choice.
However, if you have a fair amount of space, then a ceiling TV mount can definitely be a great option.
Secondly, you must decide what type of ceiling TV mount you want to get. You can get either a rotating one or a fixed one.
Obviously, a fixed one would be a better option if you intend to have just one, primary viewing angle for your TV. This can be the case if you have one big couch or lounge chair from where you normally watch TV.
On the other hand, if you have a spacious room with many different viewing angles, then it might be a good idea to invest in a rotating mount.
Ceiling TV mounts that can rotate can typically do so a full 360 degrees. This can make them extremely dynamic since you can watch TV from pretty much anywhere in the room.
Rotating Ceiling TV mounts are often more expensive than fixed ones so you must bear that in mind too. Obviously, you should only go for a rotating one if you can afford it.
Now that you know how to choose an appropriate ceiling mount, let’s talk about how you can install it…
How to Install a Ceiling Mount? (Step-by-Step Guide)
Before we start, it’s a good idea to take note of all the equipment you need and gather it up beforehand.
If you have all of the necessary equipment on hand first, it will save you a lot of time down the line.
There’s a high chance that you may get a bunch of additional supplies and tools with the TV mount you buy. Hence, be sure to check those additional components before you go out to buy additional installation equipment.
The equipment you will need to install the TV mount is as follows:
- A ceiling TV mount
- A drill and drill bits
- Fasteners (or screws)
- A ladder
- A screwdriver
- A socket wrench
- A stud finder
- A television
Once you’ve gathered all of these supplies, you can start to install the mount onto your ceiling.
Here’s how to do so:
Step 1: Turn your TV over and inspect the mounting slots it has on the back of it. The placement and distance for mounting slots can vary depending on the size of your TV as well as its model and manufacturer.
In most cases, you will find that these mounting holes have been arranged in a square or rectangular pattern.
Most mounting slots typically consist of a recessed area that has threading which is needed for the mounting screws.
Quick tip: There might be many different slots at the back of your TV.
If you are confused about which slots are actually meant for mounting, then you can look it up online or in your TV’s instruction manual.
Step 2: Start to attach the mounting brackets of the mount to the back of the TV.
Mounting brackets of TV mounts are often shaped as long, metal pieces. They have screw holes so that you can mount them easily to the back of the TV.
Position the brackets appropriately so that the bracket holes align with the mounting holes at the back of the TV. Next, use the TV mounting screws that you got with the mount to attach the brackets to the TV.
Here are some further tips for this part of the process:
- It may depend on the model and manufacturer of your mount but in most cases, you will need to put a washer or some kind of spacer on the screw before you use it.
- Most ceiling mounts have different-sized fasteners for different components. Hence, make sure that you consult its instruction manual to ensure you are indeed using the right fastener for the right purpose.
- Before you completely tighten the fasteners of the TV brackets, ensure that they are indeed even spaced out and aligned. If not, you may end up with a TV that is crooked.
Step 3: Ensure that the mounting bracket is indeed securely attached to your TV.
Use your hands to feel the attachment, try to pull it a little and see if it holds.
If you notice any wiggling or any sort of gap, make sure you attend to it and fix whatever’s making it lose.
You don’t want a dangly TV hanging in the middle of your room.
Step 4: Add any additional components that may have not been added yet.
Some manufacturers like to provide lightweight metal poles for the top or bottom of the brackets. They are used to provide additional support.
Your mount may even have a component that can be fastened between the mounting brackets. This component is often used to provide more flexibility and movement for the mount.
- If you have a simple ceiling mount with only the mounting brackets, you can skip this step and start to fasten the ceiling mounting plate.
- Once you have fully assembled all parts of the mounting bracket, ensure once more that they are all securely attached. Give different parts of the mounting brackets a light shake to see if anything seems wobbly or loose. Once everything feels secure, you can move on to installing the ceiling mounting plate.
Step 5: Use your ladder to step up to your ceiling. Use your stud finder to find the studs in the wall.
Every time you find a stud, use a pencil or something similar to mark their locations.
It’s highly important that you install the mount onto studs. If you fail to mount it on the studs, the mount could pull free in the future and cause injury to you or damage your home or TV.
If you can’t get a stud finder for some reason, there are other ways to find studs in the wall such as through a straightforward knock test or by probing the walls with a pin to find the studs.
Safety tip: Before you climb your ladder, check its stability. If the ladder seems a little wobbly, make sure that you have someone else hold it for you.
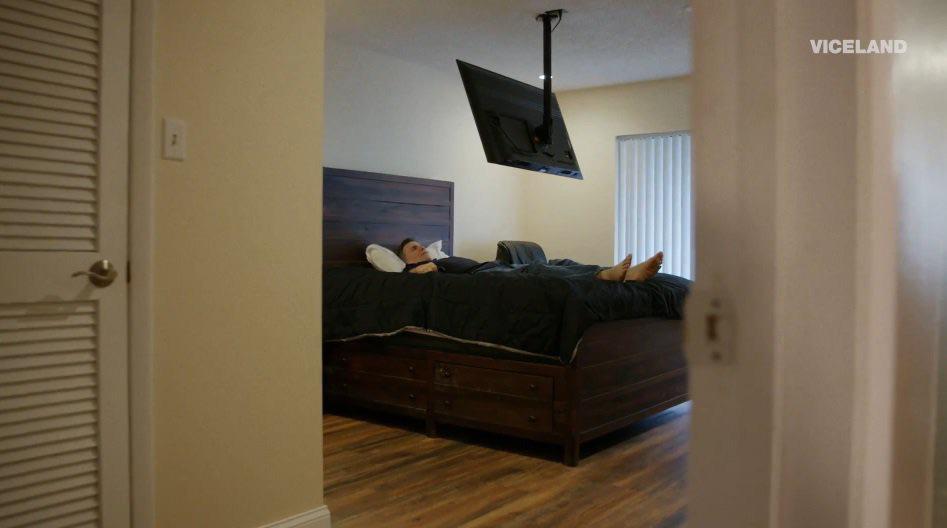
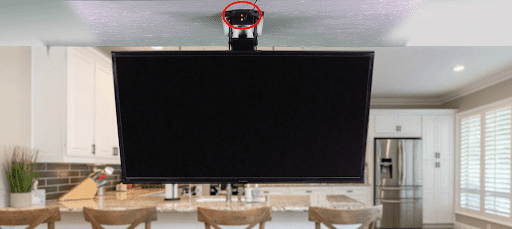
Image Courtesy: Reddit
Step 6: Use your drill to drill a hole in the ceiling that will be used for the TV’s wires.
This is optional but we highly recommend that you do this so that you can feed the wires down to the TV in order to provide it with power. It’s a very neat and clean way to do so.
If you don’t want to do that, you can also have wires run from a wall outlet to your TV. You can use adhesive hooks in order to cleanly support the wires.
Step 7: Take your ceiling mounting plate and climb the ladder.
Hold it up to the ceiling so that the locations you marked for the studs line up properly with the mounting holes.
Once the mounting plate is properly aligned, use a pencil or something similar to make a light outline of the ceiling mounting plate onto your ceiling.
Step 8: Take your drill and use it to screw in the ceiling mounting plate into your ceiling studs.
Make sure to do this according to the pencil outline that you made in step 7. This will ensure that the ceiling mounting plate is indeed properly installed into the studs.
Important note: Depending on the model and manufacturer, you may have a mount that needs to be fastened with bolts. If that is the case, then you will need a socket wrench in order to achieve this.
Use a drill or a socket wrench to firmly attach the ceiling mounting plate to the ceiling.
Step 9: Now that you have the ceiling mounting plate in place and the mounting brackets attached to the TV, it’s time to assemble the mounting plate extension.
Most ceiling TV mounts you’ll come across will have a long arm or a hanger that is used to suspend your TV in mid-air.
Most TV mounting brackets use fasteners to attach themselves to the extension.
Use the fasteners that came with your ceiling wall mount to attach the mounting plate to the extension.
Please note that every mount is slightly different. So, while this process is largely the same for most of them, it can vary slightly depending on the model and manufacturer. Hence, it’s a good idea to have the instruction manual on hand during this process.
Some extensions simply screw straight into the ceiling mount plate. If that’s the case for you, you must make sure that they are screwed in securely.
Some mounts don’t have an extension at all and mount directly onto the mounting plate.
Step 10: Now that the extension has been attached, the only thing that’s left to do is attach the TV bracket to the extension.
Please note that it may be quite difficult to attach the mounting bracket to the extension while you’re holding up the flat-screen TV on your own.
Hence, we highly recommend that you do this with a friend. Have your friend hold the TV up so that you can use the fasteners that came with the ceiling wall mount to attach the TV in place.
It’s good to fasten the screws only halfway before you tighten them fully. This helps them stay aligned with the bracket holes.
If there are any remaining TV bracket parts to attach, be sure to attach
Step 11: Your ceiling-mounted TV is now pretty much ready.
Once it has been fully assembled, push and pull on it gently to check its stability.
If you bought a mount that rotates, try to do so and check how it moves. If it’s wobbling too much, then that means you haven’t tightened the screws properly.
If it rotates smoothly, then you’re pretty much good to go with your ceiling-mounted TV.
All you have to do now is get ready to wow your guests with your uniquely mounted television.
Wrapping Things Up…
That’s pretty much how you install a ceiling TV mount.
Be sure to keep your mounting screws and fasteners that come with the mount in a secure place before you install it.
You don’t want to lose them before installation since they might be fairly difficult to find.
Do you have any tips or stories about how you installed your ceiling mount? Let us know in the comments below.
Adam F.
A/V and Home Theater Expert that focuses on providing clear as well as concise reviews for anything and everything Audio Visual. From TV's, TV Mounts, Soundbars, and Wiring, my focus is to provide expertise in everything Audio Visual focused.


")

