

Mounting your TV onto a wall can be a great way to save space and add a unique aesthetic to your living room.
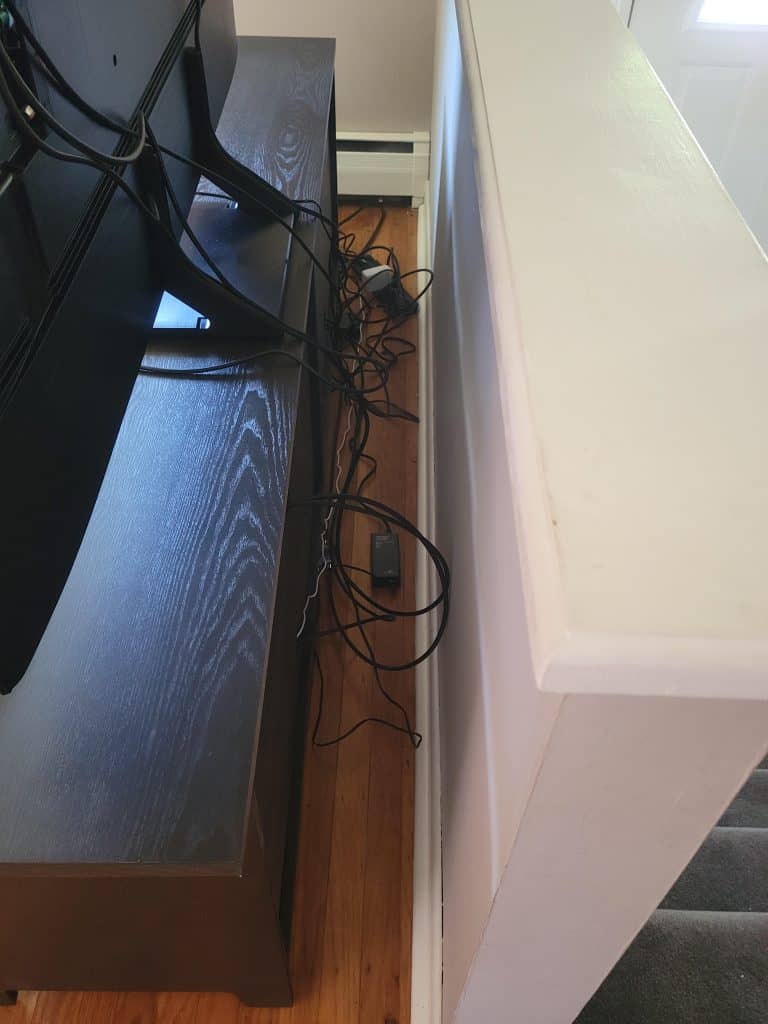
That being said, if you don’t take care of the wires, they can look quite ugly hanging off of the TV.
Quick summary
In this post, we will go over the installation process for the TV mount as well as how you can hide the wires for your TV once you have installed it.
Many people want to know how to mount a TV onto a wall but very few of them take the time to tidy up their wires.
We really wish this is something people would pay more attention to since untidy wires can look very ugly and really ruin the aesthetics of your living room.
This post will be broken down into three sections:
- The installation of the wall mount and TV
- The hiding and management process for the wires
- The connection process for all of the wires and hardware
So without further ado, let’s get into it.
How to Install a Wall Mount (Step-by-Step Guide)

Please note that for the purposes of this post, we will describe the installation process with the assumption that you have Drywall with wooden studs.
We are choosing this type of wall since they are the most common type found in most homes in the US.
If you have some other type of wall, you can check out our other installation guides for that specific type.
Without getting too specific regarding the buying process, just make sure that you buy a wall mount that is strong enough to support the weight of your TV and is compatible with it.
Once you’re sure of that and buy the appropriate TV wall mount, it’s time to install it:
Step 1: Find a proper spot in your home where you want to mount your TV.
Some factors you should consider are:
- How much room you will have for the space where you intend to watch the TV from, i.e., where your couch will be placed
- Whether or not the TV will be close to a power outlet
- Whether or not it will have enough room for the proper ventilation
- Whether or not it’s at the proper eye level
Obviously, the spot you choose should ideally check all of the boxes we have listed above.
For the TV to be at the proper eye level, the center of it should be equal to the height that your eyes will be at when you are watching the TV. For most people sitting down, this height is typically 42 inches.
Hence, your TV’s height from the floor to the center of it should be 42 inches, in most cases.
Step 2: Once you have decided on a spot for your TV, have a friend or family member hold it up to that spot.
Make sure that you use a level to ensure that your partner is holding the mount upright.
As they are holding it up, you should take a marker or pencil to mark a rough outline of the TV.
Depending on the paint on your wall, the level of visibility may differ. Hence, always use whatever leaves the most visible and lasting mark.
If you can’t find anything that’s properly visible, you can then attach painter’s tape onto the outline. This will give you a rough idea of how much space the mount and TV will take on your wall.

Step 3: The next step is to locate the wooden studs in your wall.
This can be done easily with a stud finder. All you have to do is turn it on and slide it slowly over the wall until you find the stud(s).
Depending on the make and model of your stud finder, it will let you know when you come across a stud through some audio or visual cue. This could be a beeping noise or a light blinking on the stud finder.
If you don’t have a stud finder and can’t afford to buy one, don’t worry. There are other ways to find studs in the wall without one too.
The first way is to use the “knocking test”. Knock on different locations at the spot where you intend to mount the TV. If your knocking is met with a hollow, echo-y sound, then that means that spot has no studs.
If you are met with a solid sound, that means that spot has a stud behind it.
Quick tip: If you do have a stud finder, it can be a good idea to run it vertically between the studs in the wall once you have found them.
This can help you identify horizontal studs or fire blocks.
We would recommend that you avoid fire blocks if you want to hide TV wires since it will be quite difficult for you to fish them through.

Step 4: Have a helper hold up the mount against the wall once more.
As they hold the mount against the wall, you should mark the mounting holes of the mount that line up with the stud locations that you marked in step 3.
Once again, you should use a level to ensure that the helper is holding up the mount upright.
Just make dots on the wall with a marker or pencil so that they line up with all of the holes so that you know where you can attach them securely with the studs.
Important note: If your wall does not have studs, mark 3 evenly spaced holes on the top of the mount and 2 evenly spaced holes at the bottom of the mount.

Step 5: Once you have marked the appropriate holes, you can pre-drill them so that you have an easier time with installation.
If your wall has studs, you should use a drill bit that has a diameter of ⅛ inches smaller than the diameter of the screws you have. These would be the screws that will be provided with your TV mount.
If your wall does not have studs, you should use a drill bit that has a diameter of ¼ inches.
Hold your drill perpendicular to your wall and slowly push in while pulling the trigger gently to start digging in.
As you start to dig in, you can increase the speed and push with more force to properly drill the hole. Make sure you don’t overdo it and make too big of a hole.
We highly recommend that you don’t mount your TV before you have pre-drilled the holes because that highly decreases the chances of you damaging your wall.
Important note: If you happen to have metal studs, make sure that you use a drill bit that is intended to drill through metal surfaces.
If you don’t do so, you can end up damaging your drill as well as your metal stud(s).
Step 6 (skip this step if your wall has studs): If your wall does not have studs, you can make use of toggle bolts to securely hang your mount from the wall.
Pinch the hinge of the toggle bolt so that its body slides through the drilled hole. Then push the small plastic ring at the front of the bolt so that it’s flush with the wall. Then snap it off to hold the toggle bolt in place.
Repeat this process with toggle bolts for each of the holes that you drilled.
Step 7: If you do have studs in your wall, you can just use the screws you received with the mount itself.
Hold the mount against the wall so that all of the holes you drilled align with the mounting holes on the mount.
Feed the screws into the holes and tighten them by hand at first. Then, finish the job with a screwdriver.
Important tip: If the mount you have uses hex bolts, then you will need a hex wrench to install them properly.
How to Hide TV Wires with an In-Wall Power Extender (Step-by-Step Guide)
Step 1: Buy an in-wall power extender.
An in-home power extender consists of 2 receptacles that will connect behind your wall. This enables it to provide power to an additional outlet.
When you plug the lower receptacle into a power outlet, it will provide power to the upper receptacle. You can hide that behind your TV for a neat look.
It’s a good idea to look online or at your local hardware store for a power bridge that contains built-in power connectors. This can make the wiring process much easier.
Step 2: The next step is to trace the outlines for the 2 receptacles on your wall.
Hold the upper receptacle against your wall at a spot that will ultimately be covered by your TV. You can use a pencil or marker to draw the outline.
Next, outline the lower receptacle directly below it at a spot that is at least 6 inches off the ground. Even though the lower receptacle will be visible on your wall, it can easily be hidden with any type of furniture.
Quick tip: Ensure that both of the receptacles are between the same studs in your wall if it has them. This will make it much easier to fish the TV wires.
Step 3: Once you have the outlines, you can easily cut them out using a utility knife.
It should be obvious but you can only do this method if you have Drywall.
Push the knife or saw slowly into your wall so that it breaks through to the other side. Make sure that you use a gentle and straight sawing motion as you slice through the wall.
Once it’s completely cut, just pop the piece of Drywall out. Repeat this process for the other receptacle as well.
If you don’t have a Drywall saw or knife, you can buy one from your local hardware store.
Step 4: Use fish tape to fish all A/V cords, the power connector, as well as any other TV cords you may want to use with your TV through the wall.
You can do this by feeding the fish tape into the upper receptacle hole and pushing it straight down.
Once it reaches the lower receptacle hole, you can pull it out.
Next, tape all TV cables you intend to use to the end of the fish tape. You must also tape the power connector cable to the fish tape which is attached to the back of the lower receptacle.
Pull the fish tape back up through the upper hole in order to successfully fish the wires through your wall.
Make sure that all the TV wires extend about 3 feet from both holes.
Of course, the number of cables that will be present in your wall will depend on how many different devices and components you want to use with your TV.
It can be a good idea to include any cables that you currently don’t have a use for but may use later. Examples of these could be additional HDMI cables, speaker wires, etc.
Step 5: Now, you must plug the power connectors into each other.
Start by locating the power connector at the back of the upper receptacle. Once located, line it up with the power connector that you fished through the wall in step 4.
Push them together in order to secure them. Now, electricity can run between the upper and lower receptacles.
Once you have attached the power connectors, you can feed them back into the wall so they don’t seem like unsightly wires. You want a tidy look after all.
Step 6: Pull all of the AV cords and other TV wires out of the holes in the receptacles.
You can do this by looking for holes in the receptacles that have plastic or rubber guards on them. These are meant for your TV wires.
Push the ends of the wires through the back of both receptacles so they go through the holes in their front.
The wires should be about 3 feet out from each receptacle.
Make sure that you perform this process before you permanently screw the receptacles in since it will be very hard for you to do so once they are screwed in.
Step 7: Screw both receptacles into your Drywall with the help of a screwdriver.
Place the screws into the holes on the outer edges of the receptacles and screw them in directly. You don’t need to pre-drill holes to screw in receptacles into Drywall.
Be careful not to over tighten them as that can damage both your wall as well as the receptacle itself.
Connecting the Hardware

Now that you have your mount and wires correctly installed, it’s time to add the final piece: Your TV.
Step 1: Screw the vertical brackets of your mount to the back of your television.
You can do this by placing the vertical brackets so that they line up with the 4 screw holes located near the corners.
Use the screws provided with the mount to attach the vertical brackets to the back of your TV.
Don’t over-tighten the screws as that can damage your TV.
Step 2: Locate the hooks or clips that will allow you to attach the vertical bracket to the mounting bracket that you had attached to the wall in the first section of this post.
Once you have located the hooks or clips, lift your TV up with the vertical bracket and place it so that it attaches securely to the mounting bracket.
Double-check to ensure there aren’t any further screws or bolts that need tightening.
Check the stability of the TV by shaking it slightly. If it’s firm, you’re good to go. If it wobbles, then you may have to check to see if there are any screws that need further tightening.
Step 3: Plug your TV’s power cord into the upper power receptacle. This is the receptacle that is hidden behind your TV.
If you can, wrap the extra piece of the power cord around your mount so that it doesn’t hang off of it.
Please note that your TV won’t have power until you plug the lower receptacle into a power outlet.
Important safety tip: It’s against electrical code to run power cords through your walls.
Hence, you should not feed the power cord into your wall the way you did with A/V cords, HDMI cables, etc.
Running power cords through your wall can be a serious fire hazard. Hence, never do that.
Step 4: Plug the lower receptacle into an existing wall outlet using the extension cable you got with the power extender.
Once you turn the existing outlet on, the power will go from the outlet to the lower receptacle to the upper receptacle and finally, to your television.
Wrapping Things Up…
That’s how you can hide TV cords and get a neat and tidy look in your living room.
It certainly is a lot more work to hide unsightly wires but we definitely feel the extra work is worth it.
There’s really no point in saving space with a mount if that space is just occupied by untidy TV wires, is there?
If you have any confusion regarding the above process or any questions regarding mounting in general, please let us know in the comments below.
Adam F.
A/V and Home Theater Expert that focuses on providing clear as well as concise reviews for anything and everything Audio Visual. From TV's, TV Mounts, Soundbars, and Wiring, my focus is to provide expertise in everything Audio Visual focused.


")

